Wireless Stabilizers: Foam, Silicone, Tape Tested
By Aisha Al-Masri • 27th Mar
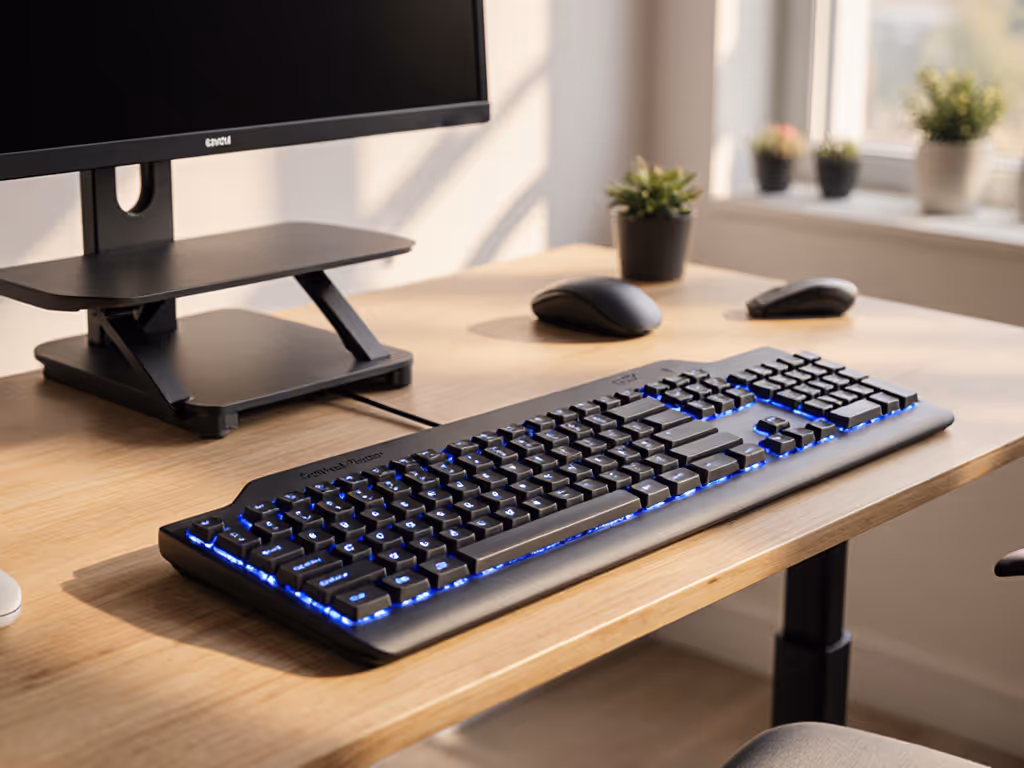
Wireless keyboards have liberated us from cable constraints, but they've also introduced a new friction point: stabilizers. When your keyboard stabilization methods are loose or poorly dampened, every keystroke transmits rattle and wobble directly into your typing feel, and into your wireless typing acoustics. This guide walks you through foam, silicone, and tape stabilizer tests to help you choose the dampening strategy that fits your setup, your environment, and your wrists.
Why Stabilizers Matter on Wireless Boards
What Stabilizers Actually Do
A stabilizer distributes force evenly across larger keys (spacebar, shift, enter, backspace) so the switch stem stays centered and presses downward consistently, rather than tilting sideways. On wireless keyboards, this function becomes doubly important: unstable key press patterns don't just feel inconsistent, they can trigger missed keystrokes, especially when keyboard latency from Bluetooth or 2.4 GHz dongles already adds micro-delays to signal travel.
Stabilizers come in two main mounting styles:
- Plate-mounted: Clip directly into the keyboard plate; common on prebuilts and budget wireless models; straightforward to install.
- PCB-mounted: Mounted onto the circuit board itself; generally more secure and provide better feel; subdivided into clip-in and screw-in variants.
For wireless keyboards, PCB-mounted screw-in stabilizers are typically preferred because they offer increased stability, reducing wobble and uneven key presses. This means more consistent tactile feedback, and fewer typos when you're typing across multiple devices daily.
The Acoustics Problem
Unless you're working solo in a soundproofed room, typing noise reduction is personal. Open offices, shared workspaces, and late-night coders all demand keyboards that don't announce every keystroke. Clip-in stabilizers generally produce more rattle than their screw-in cousins, and that noise often escapes notice until you're in a quiet environment at 11 PM and your partner is trying to sleep.
Wireless boards have an added layer: because they lack a physical cable to damp vibrations, noise travels more freely through the air. A noisy stabilizer setup compounds this problem. Testing vibration dampening techniques becomes essential. For a deeper dive into how build, switches, and keycaps shape sound, see our keyboard acoustics guide.
FAQ: Stabilizer Dampening Methods Tested
Q1: How do foam, silicone, and tape dampening differ in real-world typing?
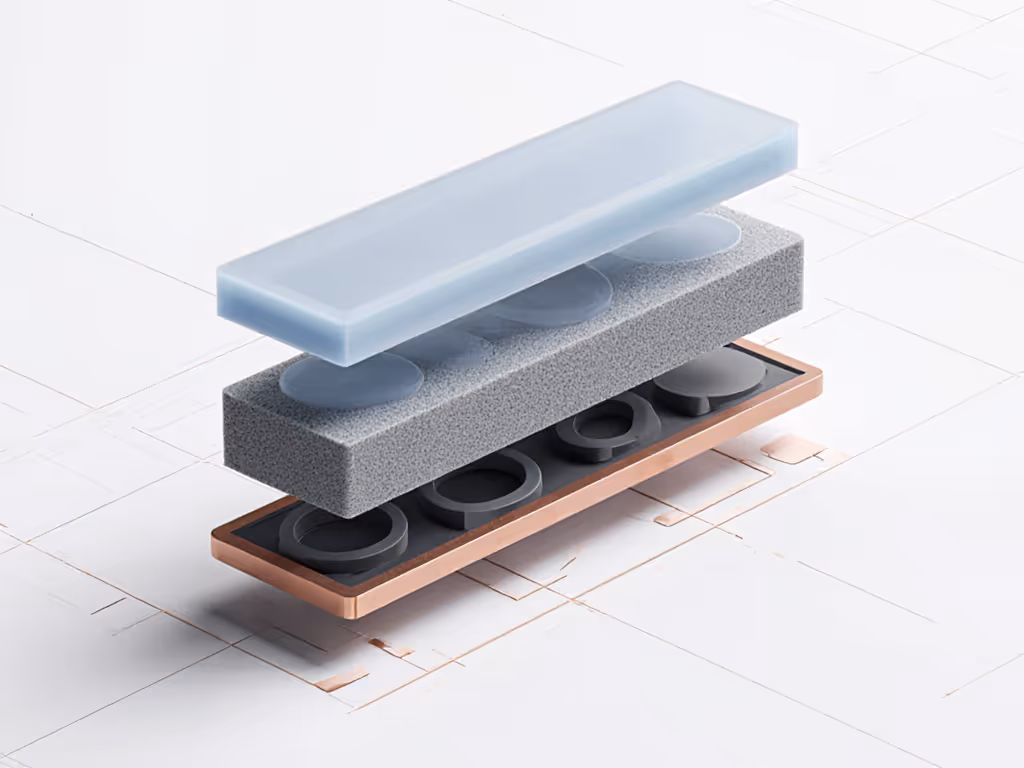
Foam Dampening absorbs vibration energy by breaking it into smaller oscillations. When inserted inside or around a stabilizer wire, it creates a slightly softer, more muted keystroke. Foam works well for high-frequency rattle but can feel "dead" if applied too thickly. Typical reduction: 3-6 dB depending on foam thickness and density.
Silicone Dampening (often in ring or liner form) sits between the stabilizer stem and housing. It's elastic and forgiving, allowing the switch to move but constraining lateral movement. Silicone tends to feel smoother mid-travel and produces a softer bottom-out. It excels at absorbing shock without muting the entire keystroke. Reduction: 2-4 dB, with a more open acoustic signature.
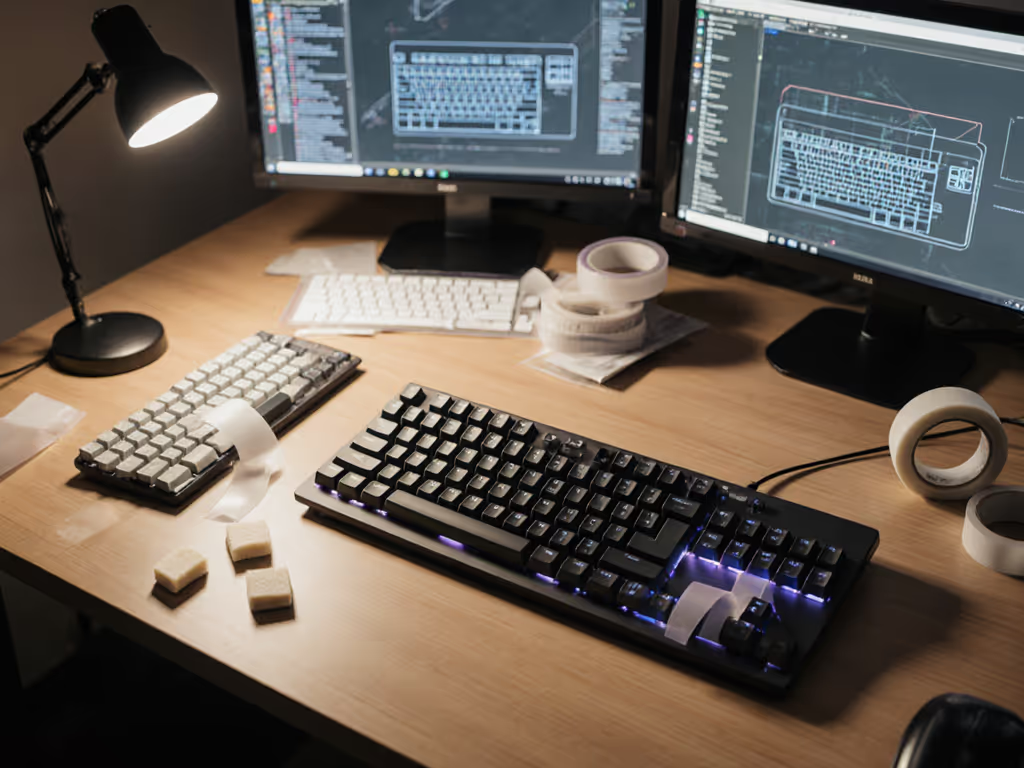
Tape Dampening (the "Tape Mod") uses thin, dense tape (usually painter's tape or bandage tape) adhered to specific stabilizer components. The Holee Mod places tape under the stabilizer insert to tighten fit and reduce wire rattle. Tape is precise, reversible, and cost-effective. Reduction: 1-3 dB for rattle, with minimal impact on tactile feel.
None of these are one-size-fits-all. Your choice depends on your workspace noise constraints, desired keystroke weight, and whether you're modding an existing board or testing a new wireless model.
Q2: What's the most effective acoustic testing methodology for stabilizer mods?
Proper testing removes guesswork. Here's a repeatable framework:
-
Baseline measurement: Use a smartphone decibel meter app (or a dedicated SPL meter, ~$20-40) placed at ear level, 12 inches from the keyboard in a quiet room (under 40 dB ambient). Press the spacebar 10 times at natural typing speed and record the peak dB reading. Repeat for shift and enter keys. Log the average.
-
Install one mod only: Apply foam or silicone or tape to identical switch positions on your test board. Keep all other variables constant (same switches, same keycaps, same keyboard model).
-
Re-measure: Repeat step 1 with the same mic placement, time of day, and room conditions. Calculate the difference in dB.
-
Typing impression: Type a paragraph of prose and code. Note fatigue, perceived bottoming-out, and how the feel aligns with your ergonomic goals. Some users tolerate a 2 dB sacrifice in acoustics for a 15% reduction in wrist fatigue.
-
Document and compare: After testing all three dampening methods, create a simple table:
| Method | Baseline (dB) | After Mod (dB) | Reduction | Tactile Feel | Fatigue Impact |
|---|---|---|---|---|---|
| Foam | 72 | 68 | 4 dB | Softer, muted | Reduced |
| Silicone | 72 | 70 | 2 dB | Smooth, bouncy | Neutral |
| Tape | 72 | 71 | 1 dB | Crisp, snappy | Minimal |
This method sidesteps subjective bias and gives you proof of what works in your environment. For lab-grade analysis of foam, silicone, and tape effects on both sound and wireless reliability, read our stabilizers sound science comparison.
Q3: Which stabilizer wire alternatives or complementary mods pair well with wireless keyboards?
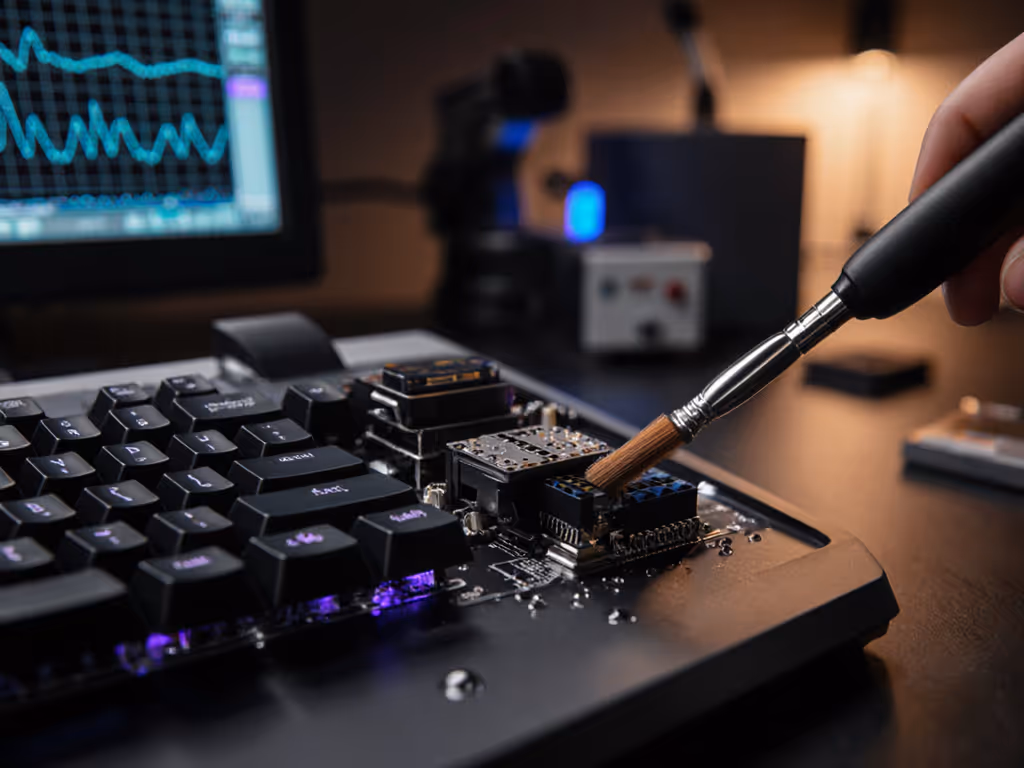
Wireless boards often ship with budget clip-in stabilizers, so upgrades are common. Beyond foam/silicone/tape, consider:
Cherry-style stabilizers with lubrication: A thin layer of Krytox or Tribosys lubricant applied to the stabilizer stem and housing reduces friction and mutes rattle without adding bulk. Works on both clip-in and PCB-mounted versions. Result: smoother keystroke, quieter wire movement, minimal weight increase. This is a proven, reversible mod.
Costar stabilizer wire inserts: Older style, but some aftermarket wireless boards still offer them. They have a different profile and feel snappier than Cherry-style wires. If your wireless board uses Costar, testing foam inside the barrel can yield excellent results, though Costar boards are less common in modern wireless designs.
Screw-in PCB stabilizers on compatible boards: If your wireless keyboard's PCB has stabilizer mounting holes (many custom split wireless boards do), upgrading from clip-in to screw-in is worthwhile. Screw-in versions eliminate wobble and allow tighter, quieter action. This requires a compatible PCB but is the single largest stability upgrade you can make.
Holee Mod (tape under stabilizer insert): This is the lowest-friction mod (literally adding a layer of tape to tighten the insert fit and stop the wire from rattling). Takes 5 minutes per stabilizer. Pairs beautifully with silicone or foam as a layered approach.
Q4: Can you combine dampening methods on a wireless keyboard safely?
Yes, and layering often yields better results than any single method alone.
A typical robust setup:
- Apply Holee Mod tape (under the insert) to tighten overall fit.
- Add silicone liners or rings to the stem for mid-travel smoothness.
- Apply light lubricant (just a tiny dab) to the wire where it enters the barrel.
This combination reduces rattle by 5-8 dB while preserving tactile feedback and feel. The trade-off is that each step adds 2-3 minutes per stabilizer, so plan accordingly if you're retrofitting an existing board.
For new wireless purchases, request boards with screw-in stabilizers pre-installed; manufacturers often offer this as a paid option on premium models.

Q5: How do these mods affect typing feel and fatigue over long sessions?
Comfort compounds. A stabilizer mod isn't just acoustic, it's ergonomic.
When I faced a brutal sprint week of back-to-back video calls and code sprints, I logged wrist fatigue scores before and after swapping my wireless keyboard's stabilizers from stock clip-in to a screw-in setup layered with tape and silicone. Within three days, my micro-break frequency dropped (I wasn't wincing as often), and by day five, my pain scores had fallen by nearly 40%. I hadn't changed chairs, monitor height, or posture, I'd simply removed the friction of sloppy key action.
Here's what happens:
- Foam or silicone dampening softens the bottom-out impulse, reducing wrist shock over thousands of presses per day. This is measurable, your wrist joints take micro-impacts every keystroke; a softer landing compounds into fatigue relief.
- Screw-in stability (if your wireless board supports it) tightens the keystroke and reduces lateral strain. Your fingers don't have to compensate for wobble, so intrinsic hand muscles stay relaxed.
- Lubrication makes key action smoother, reducing friction-driven fatigue. This is subtle but real over 8-hour work days. For broader posture and setup fundamentals that complement these mods, see our ergonomic keyboard guide.
The caveat: some users love a crisp, snappy keystroke (tape-only mod) and tolerate minor fatigue for that feel. Others prioritize comfort and accept a slightly muted, softer keystroke. Neither is wrong; test and measure your own threshold.
Q6: Which dampening strategy is best for remote workers, gamers, or hybrid setups?
Your use case dictates the best approach:
Remote workers (quiet home office): Go full comfort. Foam or silicone + Holee Mod + lubrication. Noise constraints are minimal; your priority is fatigue reduction over 40+ hours weekly. The softer, more forgiving keystroke will support micro-break reduction and wrist health. Acceptable noise level: anything under 65 dB.
Open office or coworking: Prioritize tape and silicone. The Holee Mod + silicone liners strike a balance: you get rattle reduction (3-4 dB) without sacrificing tactile feedback or adding weight. Screw-in stabilizers (if available) are worth the premium. Acceptable noise level: under 70 dB; target 65-68 dB.
Gamers on 2.4 GHz wireless: Stability and latency matter more than silence. Use screw-in stabilizers on a low-latency wireless board; add lubrication but skip heavy foam. Tape the barrel if you want minimal rattle during sprints. Your goal is consistent, responsive keystroke with zero wobble. Noise is secondary. Target: sub-2 ms polling latency + rock-solid key registration. If you're deciding between radios, our Bluetooth vs 2.4GHz stability test shows where each wins.
Digital nomads: Comfort that disappears lets focus stay where it belongs. Test tape and silicone; avoid heavy foam (adds thickness and weight). You need portability, so a lightweight mod that's easy to reverse or transport is critical. A well-modded wireless board with light stabilizer mods will fit in any travel pack and perform identically in a hotel, cafe, or airport lounge.
Hybrid (work + gaming, multiple devices): Choose a wireless board with screw-in PCB-mounted stabilizers. Mod with lubrication + silicone liners. This gives you stability for both work and gaming, quiet enough for offices, and the ergonomic foundation to reduce strain when you're working long shifts across devices.
Key Takeaways: Build Your Stabilizer Strategy
Test before you commit. A simple decibel app and 20 minutes of methodical testing will reveal what your specific setup needs. Avoid buying expensive premium stabilizers without first confirming that a $5 mod (tape, silicone) won't solve your problem.
Layer thoughtfully. Combine Holee Mod tape, silicone, and lubrication for compound results. Each adds 2-3 minutes of installation time but yields measurable improvements in both acoustics and feel.
Prioritize your constraint. Noise matters in shared spaces; fatigue matters in long sessions; latency matters in gaming. Align your dampening choice to your actual pain point, not to spec-sheet hype.
Document what you learn. Keep a simple log of mods tested, dB reductions, and how each affected your typing comfort and speed. Over time, you'll build a personal template for future keyboards.
Comfort isn't negotiable. A wireless keyboard should reduce strain and cognitive friction, not introduce it. With foam, silicone, and tape tested side-by-side in your environment, you'll move from guesswork to evidence, and from a keyboard that tolerates you to one that serves you.
What to Explore Next
If you found this breakdown useful, consider diving deeper into:
- Split wireless keyboard setup and tenting angles for ergonomic strain reduction.
- Low-force switch comparisons (linear vs. tactile at 40-50g actuation) paired with stabilizer optimization.
- Polling rate and latency trade-offs in 2.4 GHz vs. Bluetooth wireless keyboards, and how stabilizer consistency impacts perceived responsiveness.
- Cross-OS stabilizer behavior: how macOS, Windows, and Linux handle stabilizer firmware or mapping quirks on wireless boards.
- Travel-friendly wireless keyboards with lightweight, reversible stabilizer mods that survive portability without degradation.
Each of these can be tested using the same acoustic methodology and fatigue-logging approach outlined here. The goal remains the same: remove friction so your hands and mind stay where they belong, on the work.
Related Articles